Integration of Varbase with Storybook 2.0
Varbase has been integrated with Storybook to provide a listing of stories for Single Directory Components (SDC) components. This integration allows for easier development and testing of Varbase Components.
Not for production!!, only for development or staging.
Initialize Storybook for DDEV
Follow with the following link to install Varbase 10.0.x with DDEV
TEMP for the Varbase 10.1.x Branch
Varbase 10.1.0 stable is not released yet.
Follow the following steps to set up a development environment for Varbase 10.1.x.
Before proceeding, ensure that you have the required tools installed on your local development environment: Make sure you have the following installed:
DDEV → For local development
wget → To download files from the web
zip/unzip → To extract compressed files
Learn more about DDEV on the official website: https://ddev.com
DDEV is a development tool!
Note that while you can run DDEV in production, it is highly discouraged, not recommended, and 100% not supported! DON'T DO IT!
1. Download and Extract Varbase 10.1.x
To get the code for the Varbase 10.1.x branch and extract it to your chosen location with a custom folder name, follow these steps:
2. Start DDEV and Install Dependencies
Start DDEV and build inside it.
3. Install Varbase Using the Custom DDEV Container Command
Install Varbase using drush. (shell web container command) Usage: ddev install-varbase minimal|full|demo [flags] Aliases: install-varbase, varbase:install
Install Varbase for the DDEV project.
A password for the webmaster user will be provided after the installation is complete.
Have a look at the content of the install-varbase command.
Examples:
Quick Varbase Demo installation
ddev install-varbase demo
Full Varbase installation
ddev install-varbase full
Minimal Varbase installation
ddev install-varbase minimal
4. Initialize Storybook for Varbase
The ddev init-storybook
command in Varbase is a custom DDEV command designed to initialize Storybook for the DDEV project.
Have a look at the content of the init-storybook command.
5. Generate Stories
Generate all stories using the following alias script
It will run the following drush command
drush storybook:generate-all-stories --force
6. Start Varbase Storybook 2.0
7. Verify Installation and Links
When Adding or Changing Stories
Important to run the ddev yarn storybook:gen
command for all new or changed stories.
Manual Steps by step to Set up a Working Storybook for Varbase
Enable the
storybook
module on the site either through the site's interface or by running the commanddrush en storybook
with Drush. Note that the CL Server module should not be kept running on a production site.Navigate to
"/admin/people/permissions/module/storybook"
to give theRender storybook stories
permission to all user roles. Check theAnonymous user
andAuthenticated user
checkbox and pressSave permission
submit button.
Use Drush to grant specified permission(s) to a role.
./bin/drush role:perm:add anonymous 'render storybook stories'
./bin/drush role:perm:add authenticated 'render storybook stories'
Use the Render Storybook stories
Warning: Give to trusted roles only; this permission has security implications. Allows a user to access the Twig Storybook endpoint to render a template with stories.
Use Drush to remove specified permission(s) from a role.
./bin/drush role:perm:remove anonymous 'use cl server'
./bin/drush role:perm:remove authenticated 'use cl server'
Add the following exclude of modules to the
settings.php
orsettings.local.php
only to the development environment:Change the following Cross-Site HTTP requests (CORS) in the
development.services.yml
file.
Enable Twig debugging by
debug: true
in thedevelopment.services.yml
file.
Having a local services file. Make sure to have the right path for custom local development services file. sites/default/development.local.services.yml
Having a local settings settings.local.php
file. When used in a local development environment, or in Development, Staging, or Demo hosts.
Enabling Twig debugging is not recommended in production environments.
Disable the Twig cache by
cache: false
in thedevelopment.services.yml
file.
Disabling the Twig cache is not recommended in production environments.
Change the Local Development Domain
Change
varbase.local
in thepackage.json
file to the appropriate local or development domain name.Replace
process.env.STORYBOOK_SERVER_RENDER_URL
in thepreview.ts
file with the base URL of your project or an environment variable representing the local or development domain.Open a command terminal window and navigate to your project's directory.
Run the
yarn install
command in the terminal to install the necessary dependencies.Run the
yarn storybook:gen
to generate all stories.Run the
yarn storybook:dev
command to start the development site for the Storybook.Open site domain with :6006 port.
Storybook Build
Building the storybook ones for the project, only for demos, staging, or hosted development, when the other ports are not allowed.
Run the yarn storybook:build
command to build the story, in the local or in at the dev, test, staging, or demo server.
A domain name could point at the storybook folder.
Example:
An example development, staging or demo
my-staging-varbase-site.com
domain name can point at thedocroot
directory, which will bootstrap from VarbaseA sub domain
storybook.my-staging-varbase-site.com
domain name can point at thestorybook
directory, which will load the Varbase Storybook, and the Component Library Server will have requests from themy-staging-varbase-site.com
Customizing Varbase Storybook for a Project:
Switching Between Themes
To showcase a custom cloned generated theme, uncomment and modify the following line in the .storybook/preview.ts
file:
// mytheme: {title: 'My Custom Theme for a Project'}
Show Custom Vartheme BS5's Components
To include components from Vartheme BS5 Starterkit, uncomment and modify the following line in the .storybook/main.js
file:
Show Custom Theme's Components
In case of having a custom theme for a project by
To include components from a custom cloned generated theme, uncomment and modify the following line in the .storybook/main.ts
file:
Please ensure that the path to the custom theme is correct. It should be located either in "../docroot/themes"
or "../docroot/themes/custom"
Show Custom Module's Components
To include components from a custom module, uncomment and modify the following line in the .storybook/main.ts
file:
Run Varbase Storybook in Platformsh
Having a working Storybook for development, testing or staging.
NOT for production environments.
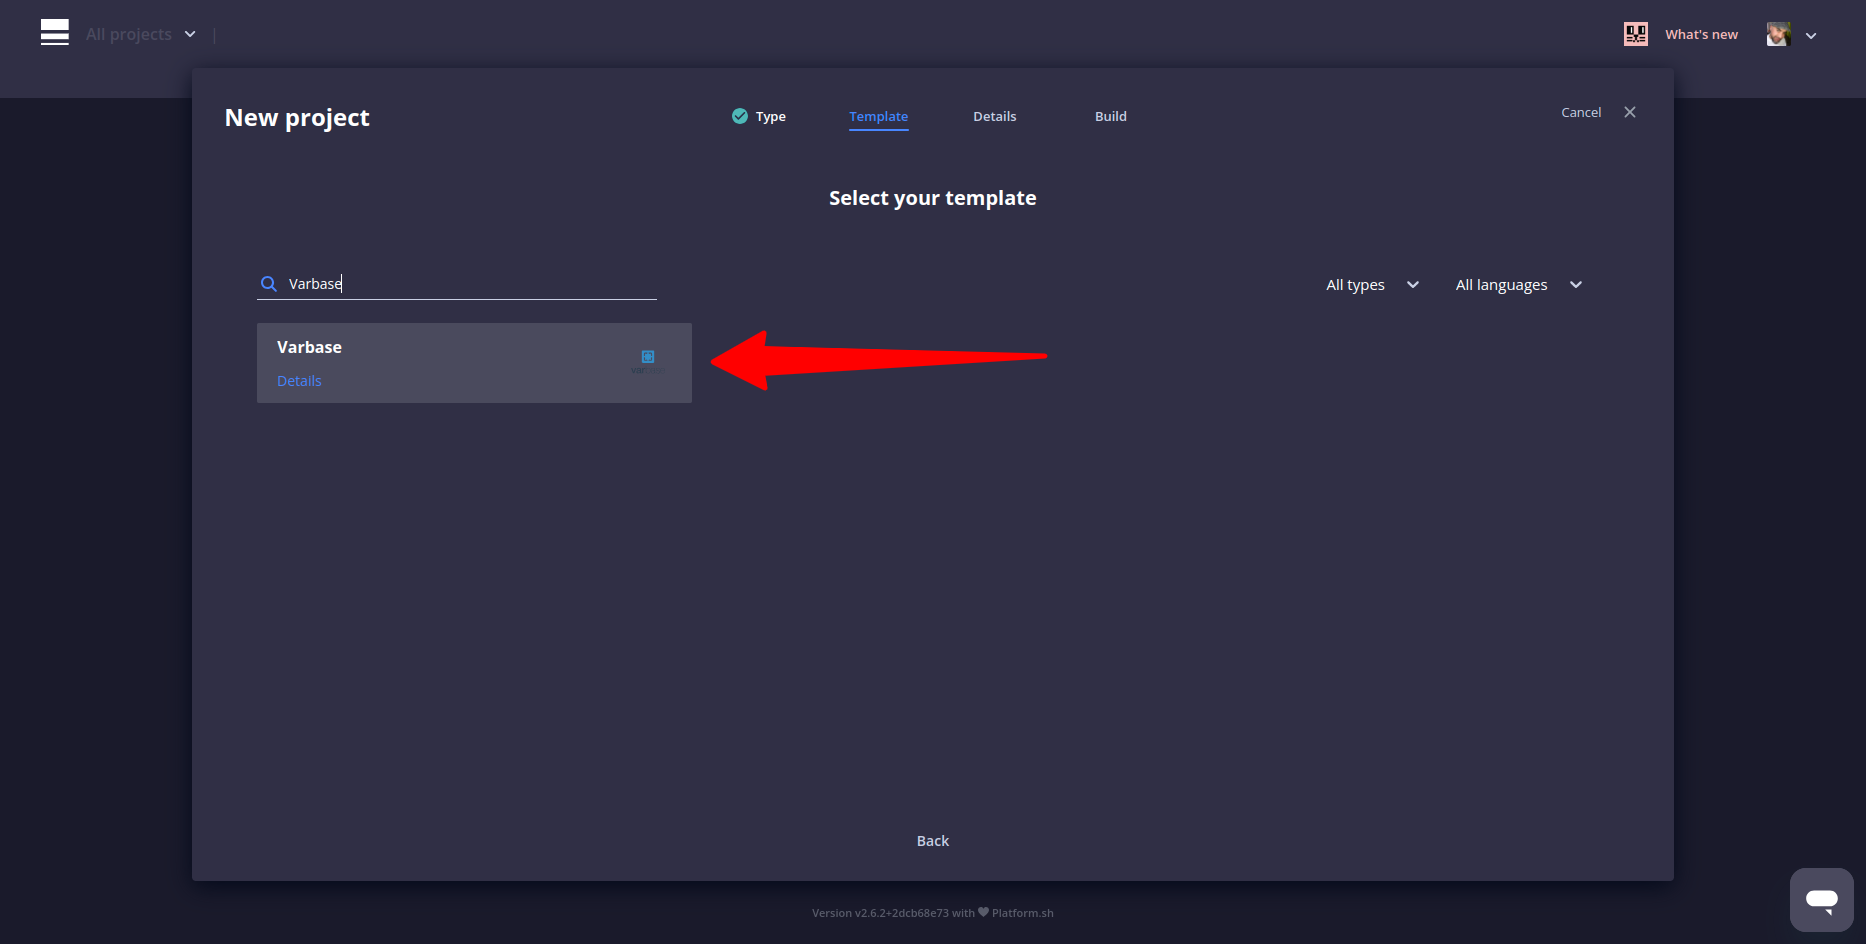
Select The Varbase Template as The Project Type
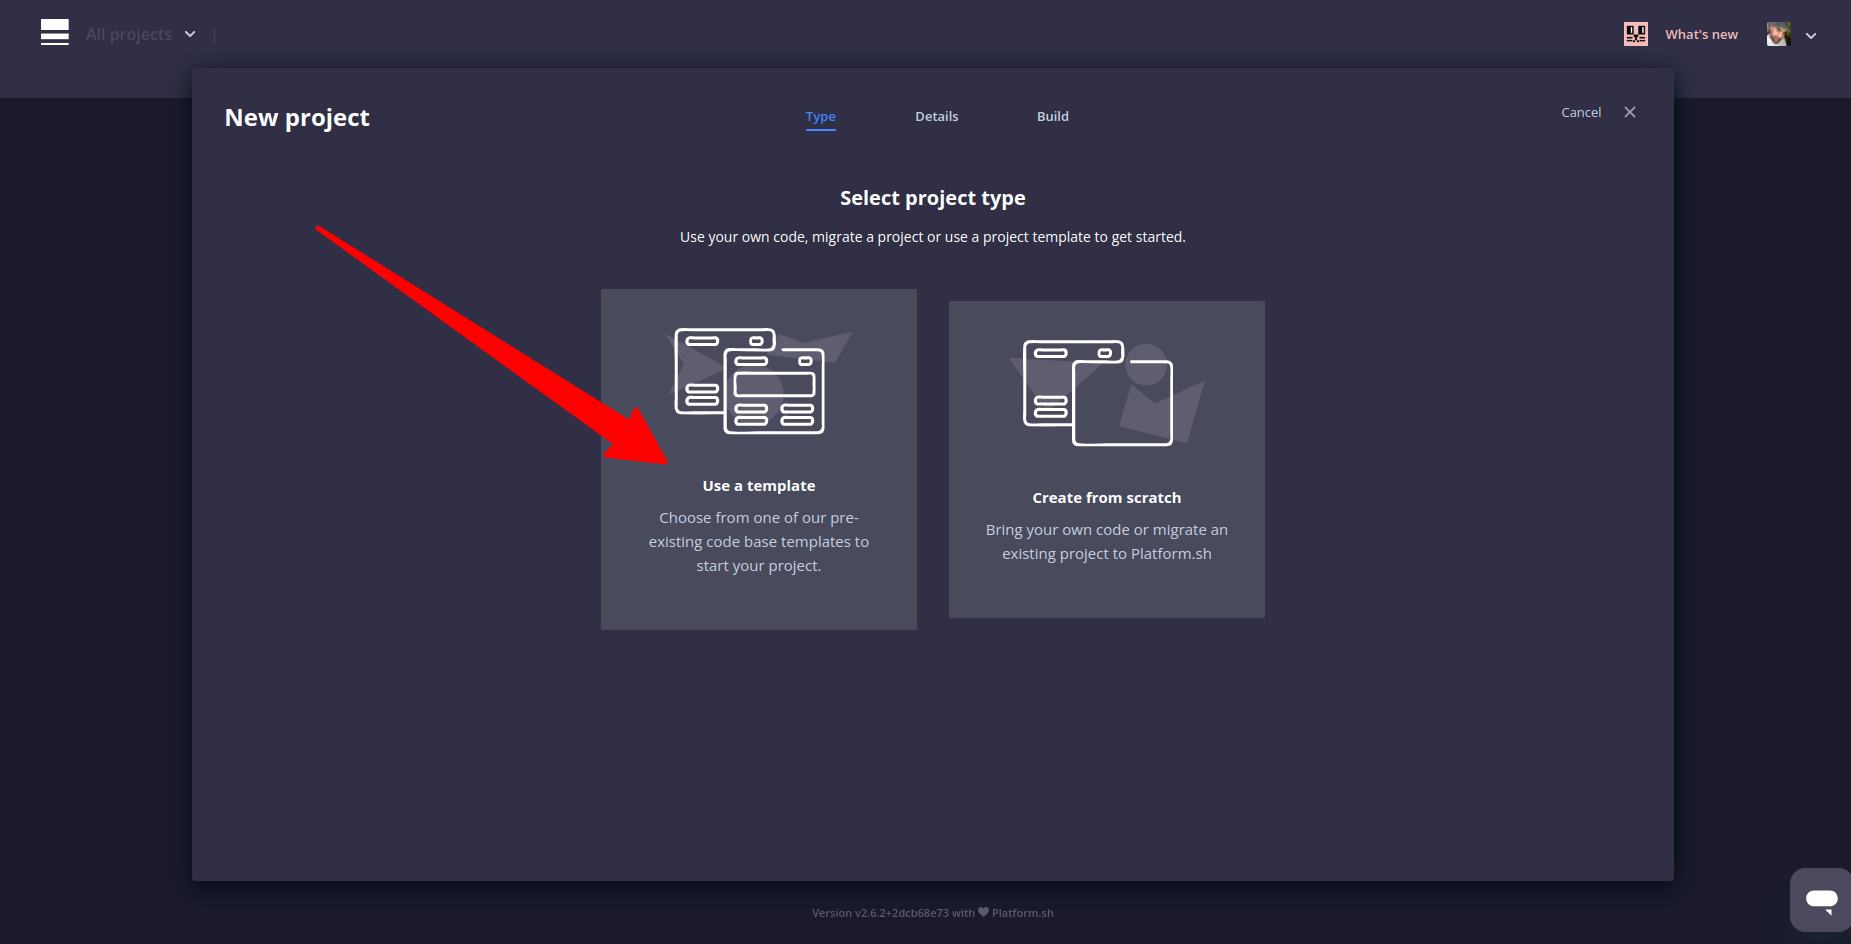
Choose Vardot/platformsh-varbase from the pre-existing code base template to start a project with.
Select Varbase as the template, by default a Varbase 10.1 will be built
After creating the project and installing Varbase 10
Replace Site URL with an Environment URL
Edit the preview.ts
file in the .storybook
folder, replace this with your Drupal site URL, or an environment variable.
Use 'development.local.services.yml' File
Have the following in the settings.platformsh.php
file
Both files are in the Vardot/platformsh-varbase project template.
After committing and starting the development environment for the development branch,
The Storybook link will work as follow
Last updated